Your Complete Bathroom Remodeling Checklist for Huntington Beach
A successful remodel in Huntington Beach is as much about planning and sequencing as it is about great design. A well-structured checklist keeps decisions organized, schedules realistic, and results consistent with your vision. Whether you are refreshing a guest bath or reimagining a primary suite, this comprehensive guide will help you capture every detail. To begin with confidence, review goals and assemble a team with expertise in bathroom remodeling so you can move through each phase efficiently.
Phase 1: Define Scope and Style
- Identify users and needs: daily routines, accessibility considerations, storage priorities.
- Gather inspiration: colors, materials, and layouts that suit coastal light and humidity.
- Set objectives: more storage, better lighting, improved ventilation, or a curbless shower.
- Measure the space: note plumbing locations, window sizes, and door swings.
Clarity now prevents rework later. Organize inspiration images and note what you like about each—tile scale, grout color, fixtures, or layout moves.
Phase 2: Preliminary Layout and Budget Framework
Develop layout options that respect existing plumbing where possible while addressing the biggest functional issues. Consider how doors open, where mirrors reflect light, and how storage integrates without crowding the room.
- Evaluate keeping fixtures along one wall for efficiency.
- Plan for a pocket or barn-style door to gain floor area.
- Decide between a glass shower and a compact soaking tub.
- Sketch storage zones: vanity drawers, recessed cabinets, and linen towers.
Use a budget framework to sort priorities into must-haves and nice-to-haves. This helps you allocate resources during selections and protects the schedule if lead times shift.
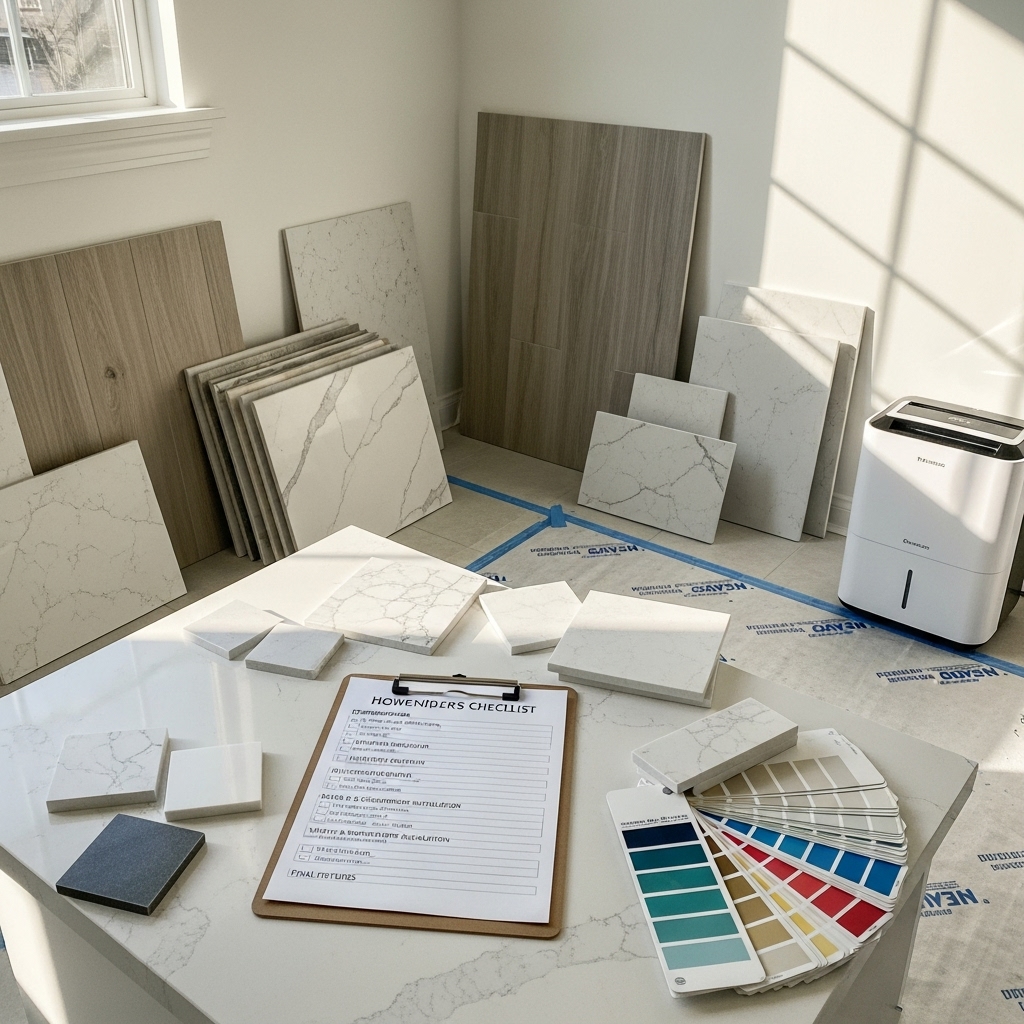
Phase 3: Materials and Finish Selections
- Tile: porcelain for floors and walls; consider large formats for a spacious feel.
- Countertops: quartz for non-porous durability.
- Cabinetry: water-resistant finishes and soft-close hardware.
- Plumbing fixtures: choose finishes that resist corrosion in coastal air.
- Lighting: dimmable layers—ambient, task, and accent.
- Mirrors: backlit or paired sconces at face level for shadow-free grooming.
Confirm samples in natural light to ensure tones stay consistent throughout the day. Note maintenance requirements for each selection and ensure compatibility with ventilation plans.
Phase 4: Technical Planning
- Waterproofing: specify membranes for showers and wet walls.
- Ventilation: choose a quiet, properly sized fan with a timer or humidity sensor.
- Electrical: plan GFCI protection, switching, and dimming at logical locations.
- Plumbing: set valve heights, niche dimensions, and shower head placement.
- Accessibility: consider curbless entries, grab bar blocking, and lever handles.
Document all heights and clearances in a simple drawing set. These details guide the field team and minimize questions during installation.
Phase 5: Permits and Scheduling
- Confirm required permits with the local jurisdiction and prepare drawings.
- Coordinate inspections for rough plumbing, electrical, and final sign-off.
- Plan lead times for tile, custom glass, and cabinets to align deliveries with construction milestones.
- Set start and target completion windows with contingency for unexpected conditions.
A clear schedule reduces downtime and helps you maintain access to essential areas in your home during the remodel.
Phase 6: Pre-Construction Readiness
- Order long-lead items and verify quantities.
- Stage materials in a protected, dry area.
- Define access routes, working hours, and daily cleanup routines.
- Protect adjacent floors and spaces from dust and debris.
Before demolition, walk the space with your contractor to confirm demolition limits, layout markers, and any special instructions for salvage or reuse.
Phase 7: Demolition and Rough Work
- Remove existing finishes and fixtures per the plan.
- Inspect framing, plumbing, and electrical after opening walls.
- Address any hidden issues—moisture damage, out-of-plumb walls, or venting corrections.
- Complete rough plumbing and electrical according to documented locations.
Take progress photos and verify niche sizes, blocking, and valve heights before closing walls. This step ensures everything fits as intended.
Phase 8: Waterproofing and Tile
- Install approved waterproofing membranes with proper overlaps and corners.
- Confirm slopes to drains, especially in curbless showers.
- Dry-fit tile to plan layout, centering focal areas like niches and mirrors.
- Set tile with appropriate mortars and grout; seal where required.
Quality control here determines the longevity and appearance of the finished bathroom. Do not rush these stages.
Phase 9: Fixtures, Cabinets, and Lighting
- Install vanities and linen towers, then align mirrors and sconces.
- Place plumbing trim and test for leaks and proper flow.
- Mount accessories—towel bars, robe hooks, and paper holders—at ergonomic heights.
- Add dimmers and program fan timers for everyday comfort.
Protect finished surfaces during installation to avoid chips or scratches, and check that doors and drawers operate smoothly.
Phase 10: Glass, Caulking, and Detailing
- Measure and install shower glass with corrosion-resistant hardware.
- Use silicone at changes of plane to accommodate minor movement.
- Verify caulk lines are clean and consistent for a polished look.
At this point, the design vision becomes fully visible. Make a punch list of any small touch-ups to complete before final cleaning.
Phase 11: Final Inspection and Punch List
- Conduct a thorough walkthrough and note adjustments—door reveals, paint touch-ups, and alignment tweaks.
- Test lighting scenes, fan operation, and water temperature/pressure.
- Confirm that all components are labeled and documented for maintenance.
Capture final photos and ensure care instructions are on hand for tile, counters, and fixtures.
Maintenance Essentials After Completion
- Use cleaners recommended for your tile and fixtures to preserve finishes.
- Run the exhaust fan during and after showers to control humidity.
- Reseal grout or stone surfaces as recommended by manufacturers.
- Periodically check caulk lines and replace if cracking or gaps appear.
Regular attention keeps your bathroom looking new and performing well in a coastal climate.
Optional Enhancements to Consider
- Heated floors beneath porcelain tile for added comfort.
- Toe-kick lighting for nighttime navigation.
- Smart shower controls with preset temperatures.
- Recessed storage niches near the vanity for daily essentials.
These small additions can significantly improve daily usability without changing the layout.
Mid-Project Review
About halfway through construction, hold a site review to confirm the alignment of tile, niche placement, and fixture heights. This meeting ensures that your intent is being realized exactly as planned. It is also a good time to verify that the cohesive style and color story are consistent throughout. If you want an experienced perspective to help evaluate progress and solve on-the-spot challenges, engage a team well-versed in bathroom remodeling to guide decisions and maintain momentum.
FAQ
Q: How long does a typical bathroom remodel take?
A: Timelines vary by scope and lead times. Efficient planning, finalized selections, and coordinated inspections help keep the project moving smoothly.
Q: What is the most important early decision?
A: The layout. It dictates plumbing, storage, and lighting, and it impacts every subsequent selection and installation step.
Q: Do I need special materials for a coastal environment?
A: Choose corrosion-resistant finishes, porcelain tile, quartz counters, and quality waterproofing. Good ventilation is crucial in humid, ocean-adjacent settings.
Q: How can I make a small bathroom more functional?
A: Use a floating vanity, recessed storage, clear glass showers, and layered lighting to maximize space and usability.
Q: What should I do if unexpected issues are discovered during demolition?
A: Address them immediately with your contractor, adjust the sequence if needed, and document any changes for clear follow-through.
Bring Your Checklist to Life
With a clear, step-by-step plan, your Huntington Beach bathroom remodel can progress smoothly from idea to completion. Prioritize layout, waterproofing, ventilation, and cohesive selections, and keep communication frequent throughout the project. When you are ready to turn your checklist into a finished space, collaborate with a team dedicated to exceptional bathroom remodeling and enjoy a bathroom that looks beautiful and works effortlessly every day.