Inspections That Build Confidence
Inspections are the backbone of a safe, durable project. In Huntington Beach, the inspection process verifies that your home or business meets structural, mechanical, electrical, and plumbing standards while accounting for coastal conditions like salt air and moisture. When you understand the sequence, documentation, and roles involved, you can plan around milestones, minimize delays, and feel confident at every stage. Early in your planning, consider coordinating with an experienced general contractor who can anticipate requirements and prepare your project for smooth approvals.
The goal of inspections is not to slow you down; it is to ensure your investment is built right. Clear checkpoints help teams catch issues before they are concealed, from framing and shear walls to roof flashing, outlet spacing, and pressure tests on piping. A well-organized process strengthens quality and protects your property over the long term.
Pre-Construction Planning and Permit Strategy
Inspections begin well before anyone swings a hammer. Your contractor should map out required permits and the corresponding inspections for each discipline. For a typical remodel with structural changes, you can expect plan review, rough inspections for framing, electrical, plumbing, and HVAC, and a final inspection after finishes are installed. Projects might also include energy and insulation verifications and specialty inspections if engineered elements are involved.
Documentation is essential. Clear plan sets, specification sheets, and engineering details help reviewers and inspectors see how the design complies with code. Your contractor should coordinate questions during plan review, respond promptly to comments, and set realistic expectations for timelines.
Site Readiness and Safety Protocols
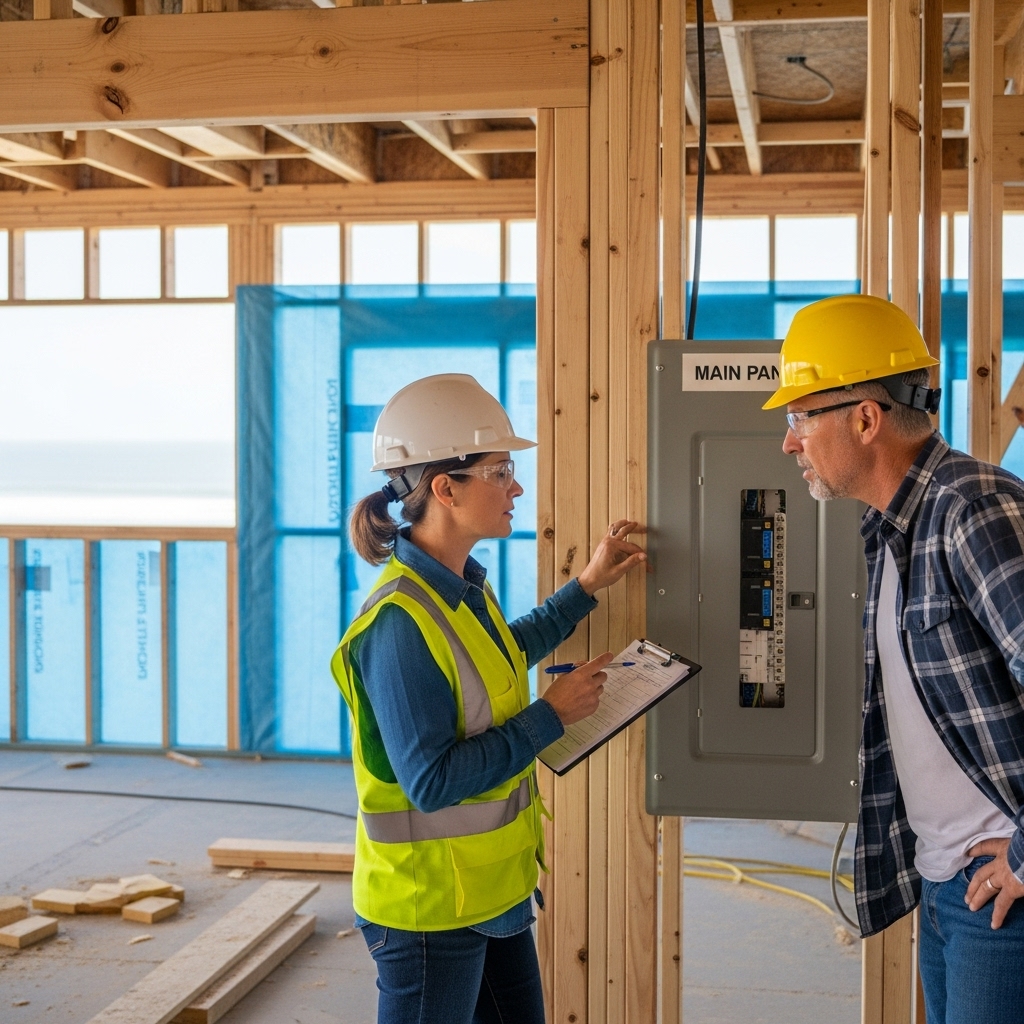
Before the first inspection, the site must be safe and accessible. Inspectors need clear walk paths, adequate lighting, and visible labels for panels and shutoffs. If your home is occupied during construction, temporary barriers and dust control protect living areas. Organized staging not only respects your household and neighbors; it also signals professionalism and reduces the chance of failed inspections due to clutter or missing labels.
In a coastal climate, protect stored materials from moisture and corrosion. Keep fasteners dry, shield electrical components, and cover open framing when storms or heavy fog are forecast. These small habits prevent warping, rust, and rework.
Foundation and Framing Inspections
Structural integrity is confirmed early. For new footings or slabs, inspectors verify excavations, forms, reinforcement, and any required anchors before concrete is placed. After vertical framing, sheer walls, headers, and hold-downs are checked against the engineered plans. In Huntington Beach, wind exposure may influence nailing schedules and connections; inspectors will look for compliance with the approved details.
The framing inspection sets the foundation for everything else. If details are incomplete or substituted without approval, downstream trades suffer. A disciplined contractor confirms that framing matches plans, penetrations are planned for mechanical systems, and fire blocking and draft stopping are in place before calling for inspection.
Mechanical, Electrical, and Plumbing Rough-Ins
During rough-in inspections, the skeleton of your building systems is examined. Electrical wiring, breaker sizing, GFCI and AFCI provisions, box fill, and bonding are evaluated before walls are closed. Plumbing lines are pressure-tested, vents are verified, and fixtures are laid out with proper clearances. HVAC ducts, supports, and sealing are reviewed, along with equipment placement and combustion air where relevant.
Coastal proximity raises the stakes for corrosion control and ventilation. Your contractor should specify corrosion-resistant hardware where appropriate and plan for robust bath and kitchen exhaust to manage moisture. Good documentation and labeling—circuit directories, pipe labels, and equipment cut sheets—smooth the inspection.
Insulation and Energy Compliance
Before drywall, insulation and energy-related components are inspected. Inspectors confirm the type and thickness of insulation, air sealing at penetrations, and alignment with the energy compliance documents. Sealing gaps around can lights, plumbing, and wiring is essential for comfort and efficiency, especially near the ocean where humidity can enter through small cracks.
Your contractor should prepare the house by exposing areas to be inspected, documenting hard-to-see details with photos, and coordinating any required third-party verifications. When insulation is done right, interior comfort improves and HVAC systems work less hard.
Exterior Envelope and Waterproofing Details
The exterior shell protects against water and salt-laden air. Inspectors may review flashing at windows and doors, weather-resistive barriers, and roof underlayments. Though not every step requires a formal inspection, your contractor should use a rigorous internal checklist for waterproofing details and photograph layers before they are covered. In Huntington Beach, these details preserve finishes and prevent callbacks.
From deck ledgers to stucco weep screeds, each transition must shed water and allow assemblies to dry. Attention here pays dividends in durability and homeowner peace of mind.
Drywall, Finishes, and Pre-Final Checks
Once rough work is approved, drywall can proceed. After taping and texture, trim, cabinets, tile, and fixtures follow. A conscientious contractor conducts pre-final checks before inviting the inspector: verify outlet covers, test GFCI/AFCI function, confirm fixture operation, and label panels clearly. Appliances should be installed and vented according to specifications, with manuals on site for reference.
Exterior items—house numbers, lighting, and any required safety devices—should be present and operational. Railings and guards must meet height and spacing requirements. Small details often drive final approval, so a methodical walkthrough is invaluable.
Scheduling Inspections and Keeping Momentum
Coordination is critical. Your contractor should schedule inspections to align with task completion and crew availability. Calling too soon risks a fail for incomplete work; calling too late can stall progress. Good teams maintain ready lists for minor corrections so they can address inspector comments immediately and keep the schedule on track.
Communication with you matters, too. Expect clear notice of inspection dates, what will be reviewed, and any preparation needed. If you live on site, you may need to secure pets and provide access to attics, crawl spaces, or mechanical rooms.
Addressing Corrections and Re-Inspections
Even well-prepared projects sometimes receive correction notes. The key is a quick, thorough response. Your contractor should document the issue, assign responsibility, and implement the fix. Photos and updated drawings help demonstrate compliance. When re-inspection is required, schedule promptly and confirm that all related items are complete to avoid repeat comments.
Correction notes often reveal opportunities to improve documentation or workflow. Treat them as process feedback that strengthens the rest of the project.
Specialty and Third-Party Inspections
Some projects involve special inspections for engineered elements like structural steel, moment frames, or high-load anchorage. When required, a qualified inspector observes fabrication or installation and provides reports that become part of the record. Energy or air-quality verifications may also be needed depending on scope and equipment choices. Your contractor should coordinate these services early to prevent schedule conflicts.
In coastal zones, deck waterproofing and exterior cladding details may receive extra attention. Photo documentation and mockups can build confidence among stakeholders and reduce surprises later.
Fire and Life Safety Considerations
Life-safety elements protect occupants and neighbors. Smoke and carbon monoxide alarms, fire-rated assemblies where required, tempered glazing in hazardous locations, and egress pathways are checked for compliance. In multi-level homes, stair geometry and guard heights matter. For accessory dwelling units or additions, separation requirements between units and garages may apply.
Discuss early how your design meets these requirements so placement and wiring are integrated smoothly. Last-minute changes are avoidable with a coordinated plan.
Final Inspection and Closeout
The final inspection confirms that permitted work matches the approved plans and that systems operate safely. Before scheduling, your contractor should conduct a detailed punch walkthrough to catch minor items and verify code-required devices. Have documentation ready: permits, inspection history, equipment manuals, and any special inspection reports. Clear labeling and tidy spaces create a positive environment for approval.
Upon approval, you receive formal confirmation that work is complete. Your contractor should provide a closeout packet with warranty information and care guides so you can maintain your new spaces with confidence.
Post-Completion Support and Warranty
Quality teams stand behind their work. Expect a defined process to request service, along with a scheduled check-in after you have lived with the project for a bit. Salt air and humidity can highlight small adjustments as materials acclimate; quick response to touch-ups and tuning is a mark of professionalism.
Maintaining documentation—plans, permits, inspection reports, and selections—will help you manage future upgrades and provide clarity if you decide to sell your property.
Homeowner Tips for a Smooth Inspection Journey
Keep a shared calendar of milestones, including target dates for rough-ins and finals. Label shutoffs and attic or crawl space access panels, and make sure inspectors can reach them easily. If you work from home, plan around inspection windows to avoid conflicts. Clear communication with your contractor ensures everyone is ready when the City arrives.
During construction, walk the site with your contractor periodically. These informal reviews catch details early—like outlet placement or vent terminations—so changes can be made before finishes go up. The best projects feel collaborative and transparent from start to finish.
Frequently Asked Questions
Q: How long do inspections take? A: The on-site visit is typically brief, but scheduling and preparation determine overall pace. A well-prepared site often receives faster approvals.
Q: What happens if we fail an inspection? A: The inspector issues correction notes. Your contractor addresses them, documents the fix, and schedules a re-inspection. Good teams treat corrections as process feedback rather than setbacks.
Q: Do all projects require the same inspections? A: No. The required inspections depend on scope. Cosmetic work may need none; structural or system changes will have multiple checkpoints. Your contractor will map out the sequence.
Q: Can I be home during inspections? A: Yes. It is often helpful, especially if inspectors need access to occupied areas. Your contractor will coordinate timing and any preparation needed.
Q: Why is documentation so important? A: Clear plans, photos, and labeled components help inspectors verify compliance quickly and reduce back-and-forth questions.
Q: How do coastal conditions affect inspections? A: Inspectors pay close attention to corrosion resistance, waterproofing, and ventilation details to ensure durability in a marine environment.
Move Forward With Clarity
If you want a schedule that stays on track and approvals that come smoothly, partner with an experienced general contractor who plans inspections as carefully as they plan framing, finishes, and punch lists. With a clear roadmap, organized documentation, and respectful coordination, your Huntington Beach project can pass each milestone with confidence and finish strong.