Launching an ADU in Huntington Beach begins with clarity: know your site, understand the rules, and follow a predictable path through approvals. California’s streamlined laws guarantee ministerial review for compliant ADUs, and Huntington Beach implements that framework with objective standards and defined timelines. This step-by-step guide shows you what to expect from feasibility through final inspection, where common bottlenecks occur, and how to keep your schedule predictable. If you want help navigating forms, drawings, and submittals, consider partnering with a team that specializes in ADU permits so you move from idea to approval without detours.
Step 1: Feasibility and Site Recon
Start with a site walk and basic research. Confirm zoning, whether you are in the coastal zone, the presence of easements, and the condition of existing structures. Note access points for construction and future residents. Photograph utilities, panel locations, and sewer cleanouts. If your lot is irregular or has tight setbacks, plan for a survey early.
Step 2: Program and Concept Design
Define the unit’s purpose—rental, family, or guest space—and choose a plan type that fits your lot. Draft conceptual layouts that respect the four-foot side and rear setback allowance for detached units and align windows for privacy and ventilation. Discuss single-story vs. two-story forms in light of height limits and neighborhood context.
Step 3: Utility Capacity Checks
Assess electrical service capacity, sewer line condition, and gas needs if applicable. Load calculations and a camera inspection of the sewer can prevent surprises. If you are considering all-electric systems or EV charging, coordinate panel sizing and meter locations now.
Step 4: Design Development and Cost Alignment
Refine the layout, elevations, and structural approach. Select preliminary finishes, windows, and mechanical systems so estimates can reflect real choices. Consider acoustics, storage, and outdoor living. If your property is in the coastal zone, incorporate foundation and drainage strategies suitable for local conditions.
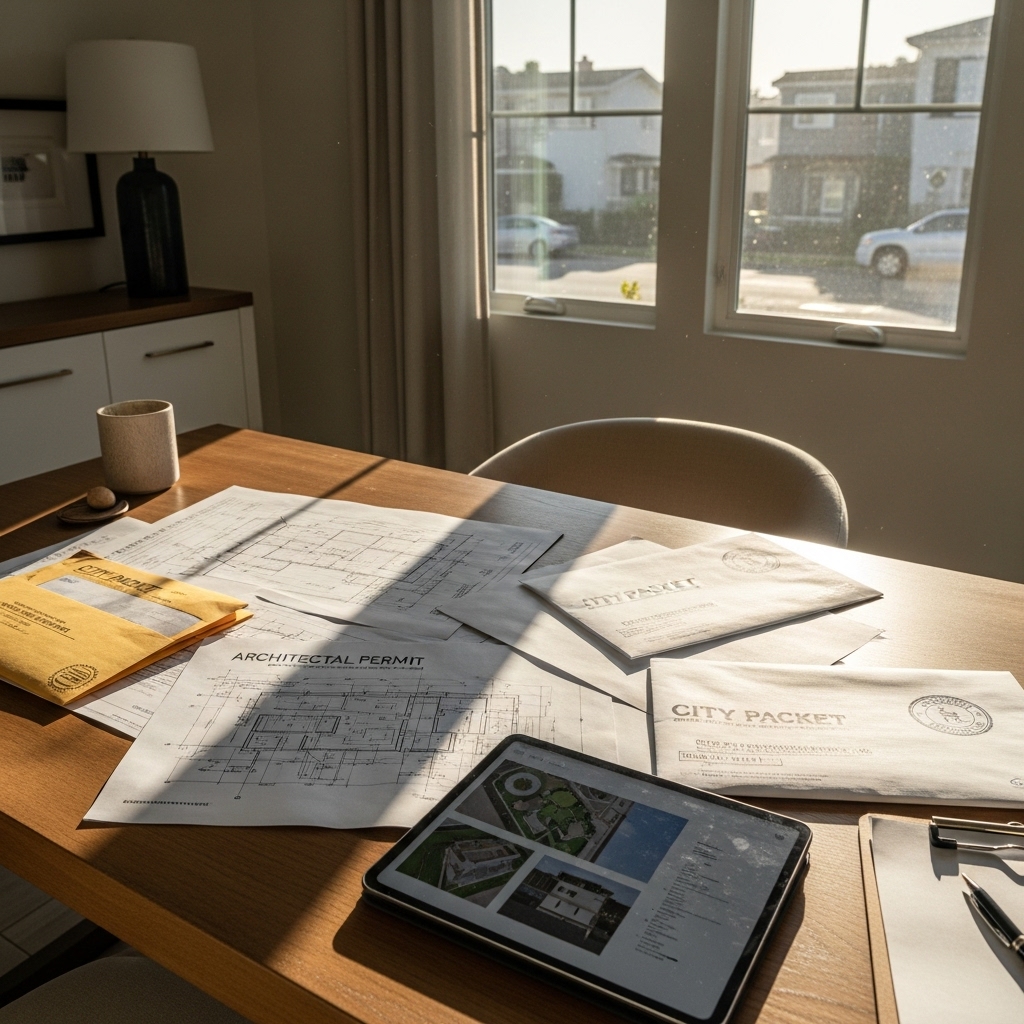
Step 5: Permit Set Production
Assemble a complete, code-aligned drawing set. Typical components include a site plan with setbacks and utility routes, floor plans, roof plan, exterior elevations, building sections, structural notes or calculations, energy compliance documentation, and general notes. Include objective design standards required by Huntington Beach and, if applicable, coastal forms or studies.
Step 6: Pre-Submittal QA
Run a checklist before uploading: confirm scale and north arrow on site plans, dimension setbacks, tag window sizes and types, detail stair and guard conditions if two-story, and cross-reference energy notes with window schedules. Verify that your drawings explicitly call out compliance with state ADU provisions—height minimums, setback allowances, and parking exemptions where they apply.
Step 7: Application and Intake
Submit your application, plans, and supporting documents through the city’s permitting portal or at the counter as required. Pay initial plan check fees and track your application number. Make sure your contact information is accurate so you receive correction letters and notifications promptly.
Step 8: Ministerial Plan Check
Plan check is objective and must be completed within state-defined timeframes for a complete submittal. Reviewers may issue corrections focused on code, zoning metrics, and clearly defined standards. Corrections should not be subjective; if a note appears discretionary, ask for the code citation and recommended objective fix. Respond to all items thoroughly to avoid additional cycles.
Step 9: Coastal Review, If Applicable
In the coastal zone, the city may require a Coastal Development Permit or additional findings. Provide any requested hazard analyses, drainage plans, or elevation data to confirm compliance with the Local Coastal Program. Coastal review may add time; plan your schedule accordingly and coordinate closely with your design team and the city.
Step 10: Final Approval and Permit Issuance
Once corrections are cleared, the city issues building permits. Confirm inspection sequences, required special inspections if any, and site posting requirements. Share the approved plans with all trades and ensure superseded drawings are removed from the site to prevent errors.
Step 11: Mobilization and Preconstruction
Hold a kickoff meeting with your builder. Review site logistics, neighbor communication, safety plans, and staging areas. Order long-lead items—windows, electrical gear, specialty finishes—so they land before trades need them. Protect trees and fences, and establish erosion and dust control measures.
Step 12: Inspections and Sequencing
Typical inspections include foundation, under-slab utilities, rough framing, rough plumbing, rough electrical, mechanical, insulation, lath or exterior sheathing, and final. If your ADU is over a garage, coordinate fire-resistance details and sound attenuation inspections. Keep the inspector’s notes organized and respond quickly to maintain momentum.
Step 13: Utilities and Close Coordination
Service upgrades or new meters require coordination with utility providers. Schedule meter sets in advance and verify trench depths, conduit sizes, and pull strings meet specifications. For all-electric ADUs, confirm breaker spaces, EV readiness, and dedicated circuits are installed per plan.
Step 14: Punch List and Final Inspection
As finishes wrap up, create a detailed punch list. Test fixtures and appliances, adjust doors and windows, and finalize exterior grading and drainage. Confirm address numbers, lighting, and smoke/CO detectors. Schedule the final inspection only when the site is genuinely complete to avoid reinspection delays.
Step 15: Certificate of Occupancy and Handover
After passing final, the city issues a certificate of occupancy. Collect manuals, warranties, and paint schedules; photograph shutoff locations; and create a maintenance log. If you plan to rent the unit, prepare a move-in checklist and house rules aligned with local ordinances.
Keeping the Process Smooth
- Clarity in drawings: Label everything—dimensions, materials, and code references—so reviewers can approve without guesswork.
- Proactive utility checks: Avoid mid-project service surprises with early load calcs and sewer inspections.
- Schedule discipline: Order long-lead materials early and confirm inspection availability during holidays.
- Neighbor relations: Inform neighbors of major milestones to reduce complaints and keep work unobstructed.
Frequently Asked Questions
Q: How fast can an ADU be approved? A: Ministerial reviews operate on defined timelines for complete submittals. Turnaround depends on your plan quality and whether coastal review applies.
Q: Do I need a separate architect and engineer? A: Many teams provide integrated services. At minimum, you will need plans, energy documentation, and structural notes or calculations as required by your design.
Q: Are fire sprinklers required? A: If the primary home does not have sprinklers, the ADU is generally not required to add them solely due to the ADU. Other triggers may apply; confirm with the building and fire departments.
Q: What about parking? A: Many projects are exempt, especially near transit or when converting existing structures. If required, a single space is typical and can often be tandem or uncovered.
Q: Can I submit before all selections are final? A: Yes, but critical specifications that affect structure, energy, or life-safety should be settled. Deferred submittals are possible for some components, but coordination is key.
Ready to Submit with Confidence?
From feasibility to final inspection, a clear, code-aligned process keeps your ADU on track. Start with a thorough site review, assemble a complete permit set, and respond to corrections in full. If you want a single point of contact to coordinate design, engineering, approvals, and construction in Huntington Beach, connect with a trusted accessory dwelling unit partner who can streamline your ADU project from first sketch to certificate of occupancy.
Move From Plan to Permit
Your next step is simple: finalize your layout, verify setbacks, and prepare a permit-ready package with objective standards clearly documented. When you are ready to submit—or if you have corrections you want help resolving—partner with a local ADU project team that has walked this path many times and can keep the process organized and predictable.