Clear installation steps are the backbone of a successful kitchen remodel, and in Huntington Beach, California, coastal conditions add a few extra considerations. This guide walks you through the installation sequence—from site prep to final polish—so you understand what happens when and how each step supports the next. If you want a partner to coordinate trades, permits, and quality control, explore professional kitchen remodeling services that manage the process from design through installation.
1. Site Protection and Temporary Setup
Before any demolition or installation, protect the rest of your home. Lay down floor protection, install dust barriers, and create a path for material deliveries. Set up a temporary kitchenette with a mini-fridge, microwave, and portable cooktop so daily life remains manageable. In coastal homes, protect metal surfaces and fixtures from airborne salt by keeping doors and windows closed during sanding and cutting operations.
- Use zipper doors and negative air strategies to control dust.
- Designate a staging area for tools and deliveries.
- Label boxes to streamline unpacking and installation.
2. Demolition and Debris Management
Careful demo preserves what needs to stay and makes room for new work. Shut off water, gas, and power to the kitchen. Remove cabinets, appliances, and finishes systematically, documenting any unexpected findings. If you plan to reuse elements like a sink or hardware, store them safely. Post-demo, verify the structure and confirm that the space matches your plan dimensions.
- Photograph walls once open to record framing and utilities.
- Cap plumbing and secure wiring for safety.
- Coordinate debris disposal and recycling where applicable.
3. Framing and Structural Adjustments
If you’re moving walls, creating new openings, or reinforcing for islands and ceiling features, now’s the time. Coordinate any engineered beams or headers and confirm bearing points. Install blocking for heavy items such as wall ovens, hoods, or floating shelves. Huntington Beach homes may require attention to shear walls and uplift connections, especially if openings are modified.
- Verify all framing against the structural plan.
- Install blocking for future cabinetry, shelves, and accessories.
- Inspect for moisture exposure and address before closing walls.
4. Mechanical, Electrical, and Plumbing Rough-In
Run new circuits, relocate or add outlets, and install lighting boxes according to the electrical plan. Complete plumbing rough-ins for sink, dishwasher, refrigerator, and any secondary sinks or filtered water systems. Plan a ducted ventilation route with a corrosion-resistant exterior cap for coastal durability. Photograph and label runs so you can reference them later.
- Place outlets to satisfy code and convenience in work zones.
- Install shut-offs and ensure access for future maintenance.
- Confirm vent size and path for the range hood before drywall.
5. Inspections and Wall Close-Up
Schedule rough-in inspections and address any corrections quickly. Insulate as required, then hang, tape, and finish drywall. Prime and apply the first coat of paint to set a clean stage for cabinetry. Plan ventilation during finishing to support good indoor air quality and proper curing.
- Keep permits and drawings on site.
- Verify fixture and outlet heights one last time before close-up.
- Document approved field changes for accurate as-builts.
6. Flooring Installation
Depending on material and sequence, flooring may occur before or after cabinetry. Many installers prefer flooring first for a continuous surface, while others install after cabinets to protect premium materials. Discuss the pros and cons for your specific finishes. Choose durable, moisture-aware flooring suitable for sandy traffic and coastal humidity.
- Acclimate flooring materials per manufacturer recommendations.
- Maintain expansion gaps and transitions at doorways.
- Protect new floors with breathable coverings.
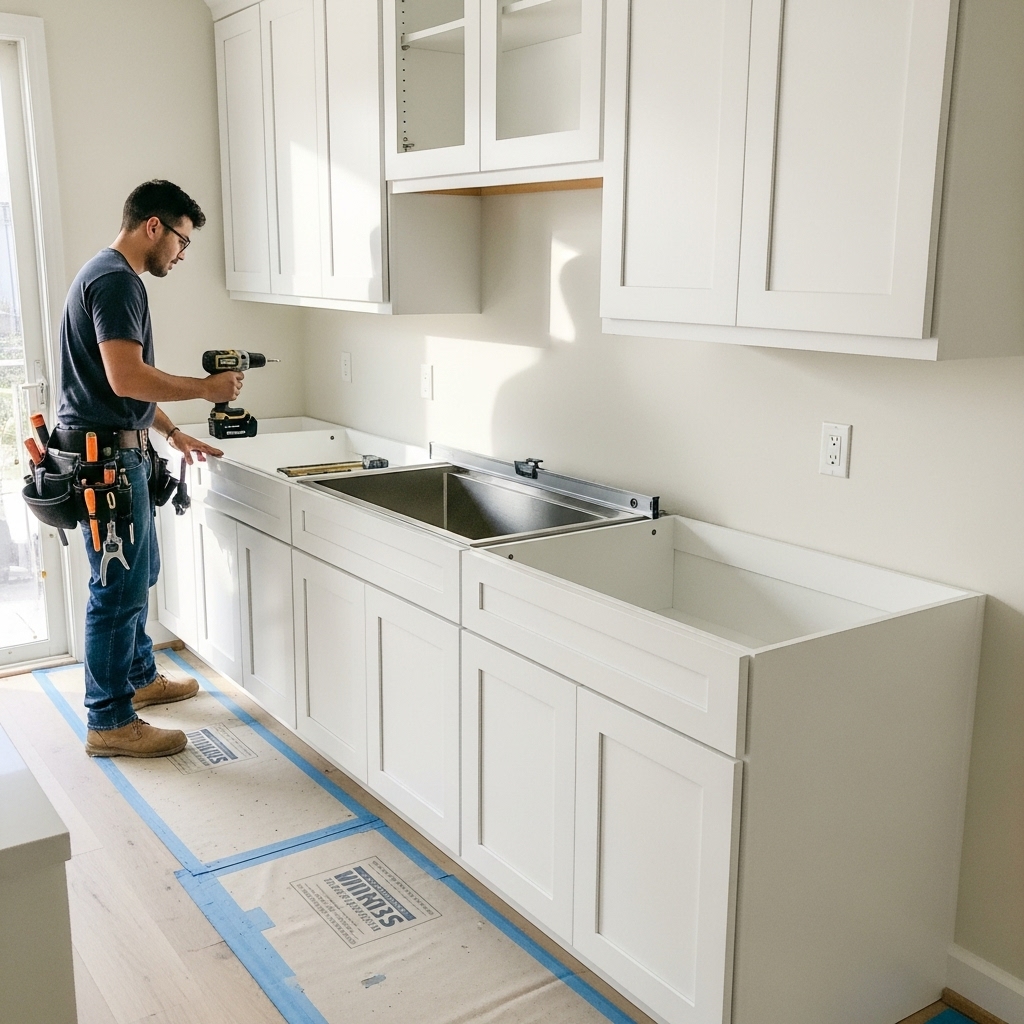
7. Cabinetry Installation
Cabinet installation sets the precision for the rest of the kitchen. Start with the highest point on the floor and level base cabinets. Secure to studs, check plumb and square, and install wall cabinets. Align reveals, install fillers for a built-in look, and verify appliance clearances. Add trim pieces such as light rails and crown after boxes are set.
- Use lasers and shims to achieve perfect level and alignment.
- Secure islands with proper blocking and anchors.
- Pre-drill hardware holes to preserve finish quality.
8. Countertop Templating and Fabrication
Once cabinets are fixed, the fabricator will template your countertops. Confirm sink type, edge details, and any waterfall panels. Approve seam locations with the installer to balance aesthetics and practicality. On install day, protect cabinets and floors and verify that overhangs and cutouts match the plan.
- Have sinks, faucets, and appliances on site for accurate cutouts.
- Review slab layout if pattern or veining matters to you.
- Inspect finished edges and seams for quality.
9. Backsplash and Wall Finishes
Install backsplash tile with careful attention to layout around outlets and windows. Use appropriate trowel size and maintain consistent grout lines. Seal porous tile or natural stone as recommended. Coordinate with electrical to install outlet extenders if needed, ensuring a clean, flush finish.
- Dry-lay tile to confirm pattern alignment and focal points.
- Use edge trims or mitered corners for polished transitions.
- Protect counters during grouting and sealing.
10. Appliance Placement and Hookups
Move appliances into position and connect water, gas, and power. Level ranges, align refrigerator panels, and test ventilation. For built-in look, check panel gaps, reveal consistency, and door swing clearance. Run test cycles on dishwashers and verify there are no leaks at any connections.
- Follow manufacturer specs for clearances and power requirements.
- Adjust feet and brackets for stability and alignment.
- Confirm ice maker and water line functionality.
11. Plumbing Fixtures and Hardware
Install sinks, faucets, soap dispensers, water filtration, and garbage disposals. Add cabinet pulls and knobs, verifying consistent heights and spacing. Seal penetrations and caulk where needed to protect against moisture. In coastal homes, choose finishes that resist corrosion and clean with non-abrasive products.
- Check for smooth operation of shut-offs and valves.
- Flush lines to remove debris before aerators are installed.
- Align hardware carefully to maintain a refined look.
12. Lighting and Electrical Trim
Install recessed trims, pendants, under-cabinet lighting, switches, and dimmers. Test every circuit and ensure color temperatures are coordinated across fixtures. Adjust pendant heights for task and visual comfort. Program smart controls if you’re integrating home automation.
- Place under-cabinet lights toward the front for best counter illumination.
- Set dimmer levels for prep, dining, and evening ambiance.
- Label the panel for future convenience.
13. Final Paint, Caulking, and Detailing
With all major elements in, complete final paint and caulking. Touch up cabinet panels, trim, and wall surfaces. Clean thoroughly, including inside drawers and cabinets, and polish fixtures and counters. A meticulous finish is the difference between a good kitchen and a great one.
- Verify consistent caulk lines at backsplashes and trims.
- Adjust cabinet doors and drawers for perfect reveals.
- Document finish colors and product codes for maintenance.
14. Final Inspections and Walk-Through
Schedule any required final inspections. Walk through the kitchen with a punch list and mark items for correction: door alignment, hardware tweaks, paint touch-ups, and appliance settings. Collect warranties, care instructions, and maintenance schedules. Photograph the finished space for records before move-in.
- Create a maintenance kit with spare hardware and touch-up materials.
- Register appliances and file manuals.
- Plan a schedule for filter changes and grout sealing if applicable.
Coastal Tips for Huntington Beach Installations
The beach lifestyle brings extra sunshine, salt in the air, and sandy traffic. Choose materials and finishes that resist corrosion and moisture, and keep ventilation a priority. Entry mats and durable flooring save wear and tear, while regular cleaning of hardware and exterior vent caps keeps everything performing and looking fresh.
- Use corrosion-resistant fasteners and hardware finishes.
- Seal or protect porous materials according to manufacturer guidance.
- Schedule periodic checks of ventilation and exterior terminations.
FAQs
Q: In what order should installations happen?
A: A typical sequence is protection, demo, framing, rough-ins, inspections, drywall, flooring, cabinetry, counters, backsplash, fixtures, lighting, detailing, and final inspections. Your specific project may adjust steps slightly.
Q: How do I prevent delays?
A: Order long-lead items early, keep drawings current, and hold mid-project walkthroughs to verify locations and clearances before closing walls.
Q: Should flooring go in before or after cabinets?
A: It depends on material and installer preference. Continuous flooring simplifies future layout changes, but installing after cabinets can protect premium floors. Discuss with your team.
Q: What’s unique about coastal installations?
A: Focus on corrosion resistance, effective ventilation, and moisture-aware materials. Routine maintenance of hardware and exterior vents helps longevity.
Q: Can I reuse existing appliances?
A: Yes, if they’re in good condition and fit the design. Confirm dimensions and hookups early so cabinetry and utilities are planned correctly.
Ready to Start Installation the Right Way?
With a clear sequence, quality controls, and coastal-savvy decisions, your Huntington Beach kitchen can come together smoothly and beautifully. If you want the confidence of professional coordination—from site protection to final polish—partner with a trusted local team. Discover streamlined, detail-first kitchen remodeling support and bring your new kitchen to life with precision.