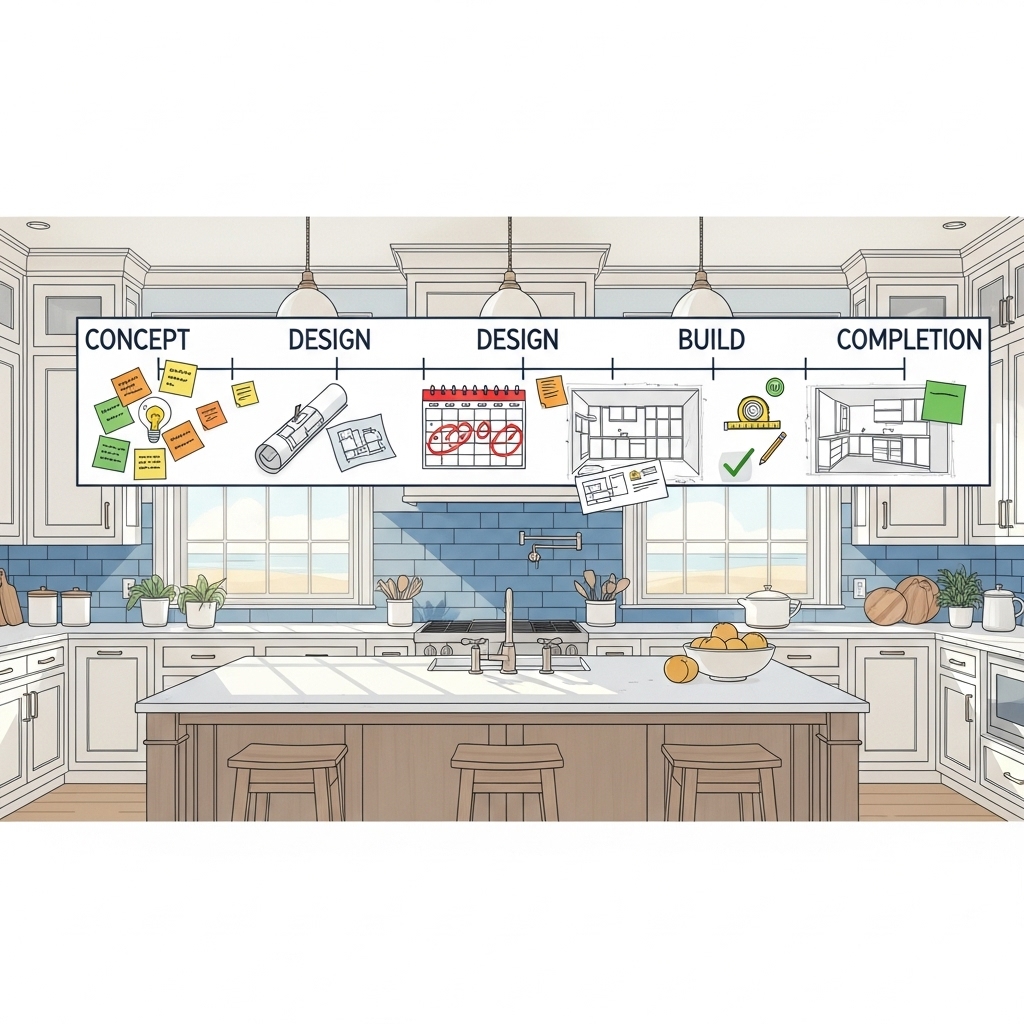
Understanding the sequence of a kitchen remodel is the key to staying calm, organized, and on schedule—especially in a vibrant coastal city like Huntington Beach, California. This detailed timeline breaks your project into phases, highlights coastal considerations, and explains how to keep momentum from planning through punch list. If you decide you want end-to-end coordination, consider partnering with a design-build team experienced in kitchen remodeling to manage plans, permits, and installation without missing a beat.
Phase 1: Discovery and Vision (1–3 Weeks)
Begin with clarity. Define what you want your kitchen to do for you—better flow, more storage, or an inviting space for entertaining. Collect inspiration and note recurring themes. Document existing conditions with measurements and photos. In Huntington Beach, also assess for moisture exposure, corrosion on fixtures, and sun intensity to guide materials and finishes that will hold up beautifully.
- Create a written list of must-haves and nice-to-haves.
- Measure walls, openings, and utilities; photograph details.
- Identify constraints like structural walls and limited duct paths.
Phase 2: Schematic Design and Budget Alignment (2–4 Weeks)
Sketch layout options and test clearances and workflows. Choose between a galley, L-shape, U-shape, or open plan with an island. Decide on appliance types and preliminary locations. With a preferred direction, develop a preliminary plan set and confirm feasibility with trades. Align the scope with your priorities to avoid scope creep later.
- Confirm appliance choices to set cabinet sizes and electrical needs.
- Plan ventilation paths for a ducted range hood when possible.
- Evaluate storage strategies including pantries, drawers, and organizers.
Phase 3: Design Development and Selections (3–6 Weeks)
This is where the design gets detailed. Select cabinetry construction and finish, countertops, backsplash, flooring, lighting, plumbing fixtures, and hardware. Create an electrical and lighting plan with switches and dimmers to layer ambiance and task illumination. For coastal homes, opt for moisture-resistant materials and corrosion-resistant metal finishes. Lock in all selections so orders can be placed on time.
- Finalize cabinet line, door style, finish, and internal accessories.
- Choose counters and confirm thickness, edge profile, and seam placement.
- Confirm tile size, layout, and grout color for reduced maintenance.
- Select lighting fixtures with coordinated color temperatures.
Phase 4: Permits and Engineering (2–6 Weeks)
When your project involves electrical, plumbing, structural, or window changes, you’ll need permits and inspections. Submit drawings and specifications to the building department. Plan lead time for reviews and any requested revisions. Maintain a checklist of required inspections and coordinate dates so they align with demolition and rough-in milestones.
- Prepare clear, labeled drawings to speed review time.
- Track permit status and respond promptly to comments.
- Schedule rough-in and final inspections around crew availability.
Phase 5: Procurement and Lead Times (2–10 Weeks, Overlapping)
Order long-lead items early—custom cabinets and specialty appliances often drive the schedule. Verify all dimensions and finishes before placing orders. Arrange delivery dates to match installation windows, and inspect items on arrival. Storing materials in a clean, dry environment prevents damage and keeps your project on track.
- Confirm cabinet production timelines and delivery windows.
- Check appliance specs for ventilation and electrical compatibility.
- Inspect materials immediately and report discrepancies.
Phase 6: Site Prep and Demolition (1–2 Weeks)
Protect non-remodeled areas with dust barriers and floor protection. Shut off utilities and document pre-demo conditions. During demolition, uncovering hidden conditions—like outdated wiring or unforeseen framing—can require quick coordination. Keep your plan set on site so trades can verify details in real time.
- Establish a temporary kitchenette to minimize disruption.
- Confirm disposal logistics and recycling where applicable.
- Conduct a post-demo walkthrough to validate measurements.
Phase 7: Rough-In Mechanical, Electrical, and Plumbing (1–3 Weeks)
With walls open, run new electrical circuits, outlets, lighting, and switches. Complete plumbing rough-ins for sink, dishwasher, refrigerator, and any secondary sinks. Install venting for the range hood. In coastal environments, verify ducting and exterior caps are corrosion-resistant and properly sealed.
- Place outlets logically for small appliances and code compliance.
- Confirm water shut-off accessibility and leak protection.
- Photograph rough-ins for future reference before drywall.
Phase 8: Inspections and Close-Up (1–2 Weeks)
Schedule inspections for rough-in work. Address any corrections promptly, then insulate and close walls with drywall. Tape, mud, and sand as needed. Prime and paint to create a clean stage for cabinetry and finish materials. Maintain good airflow to reduce dust and support healthy indoor air during finishing.
- Keep permits and plans accessible for inspectors.
- Confirm final fixture locations before closing walls.
- Document any approved field adjustments on as-built drawings.
Phase 9: Cabinetry Installation (1–2 Weeks)
Cabinet installation sets the precision for everything that follows. Level and secure base cabinets first, then install wall cabinets. Verify appliance openings, clearances, and alignment of reveals. Install fillers and panels thoughtfully to create a custom, built-in look. Make adjustments early so counter templating is accurate.
- Check that cabinets are plumb, level, and square at each run.
- Confirm island placement and seating overhangs.
- Pre-drill for hardware to prevent finish damage.
Phase 10: Countertop Templating and Fabrication (1–3 Weeks)
After cabinets are secured, the countertop fabricator will measure and create templates. Confirm sink and cooktop cutouts, edge details, and seam placement. Fabrication time varies by material and shop schedule. On install day, protect finished surfaces and verify seams, caulk lines, and overall fit.
- Approve templates and final drawings before fabrication.
- Have the sink and faucet on site for accurate cutouts.
- Inspect the installed surface for finish and alignment.
Phase 11: Flooring, Backsplash, and Finish Carpentry (1–2 Weeks)
Depending on project sequence, flooring may occur before or after cabinets, as advised by your installer. Install backsplash tile with attention to layout and grout lines. Complete trim, toe-kicks, crown, and light rails. Caulk and touch up paint to deliver a crisp, finished look befitting your coastal home.
- Dry-fit tile to visualize pattern and alignment.
- Use appropriate sealers on porous materials.
- Ventilate the space during adhesives and finishes application.
Phase 12: Fixtures, Appliances, and Lighting (1 Week)
Install plumbing fixtures, connect appliances, and hang lighting. Test each connection, confirm clearances, and program smart features if applicable. Verify that ventilation is functioning efficiently. With everything powered, adjust dimmers and aim for consistent light levels across tasks and ambiance settings.
- Balance light output between pendants and recessed fixtures.
- Level and align appliance fronts for a built-in look.
- Run test cycles on dishwasher and check for leaks.
Phase 13: Final Inspections and Punch List (1–2 Weeks)
Schedule final inspections as required. Conduct a thorough walkthrough with a detailed punch list: adjust doors and drawers, align hardware, seal gaps, and polish surfaces. Gather warranties, care guides, and maintenance schedules. This is also the perfect time to plan your cleaning routine and protective practices for long-term beauty and performance.
- Create a labeled folder for manuals and finishes.
- Note paint colors, grout codes, and caulk types for touch-ups.
- Confirm exterior vent terminations are sealed and secure.
Ways to Keep Your Timeline on Track
Successful timelines rely on proactive coordination. Place orders early, verify dimensions before installation, and plan mid-project walkthroughs to catch issues before they grow. Keep communication consistent among designer, contractor, and trade partners. If an unforeseen condition appears, decide quickly with your team to avoid cascading delays and maintain momentum toward well-executed kitchen remodeling.
Coastal Considerations for Huntington Beach Homes
Marine air, bright sun, and sandy traffic shape your choices and can influence timing. Opt for corrosion-resistant hardware and exterior vent caps, and consider materials that resist moisture and UV exposure. Build in extra time for sealing porous surfaces and for proper ventilation during finish phases. Good planning yields a kitchen that looks beautiful and performs well year-round.
- Use durable flooring and entry mats to manage sand.
- Plan for easy-to-clean surfaces around cooking zones.
- Schedule filter cleanings and ventilation checks on a routine calendar.
FAQs
Q: What phase causes the most delays?
A: Long-lead items—especially cabinets and select appliances—often drive the schedule. Order early, verify specs, and confirm delivery windows.
Q: Can I live in my home during the remodel?
A: Many homeowners do. Set up a temporary kitchenette, isolate the work area with dust barriers, and coordinate with your team on work hours and access.
Q: How do inspections fit into the timeline?
A: Rough-in inspections occur after mechanical, electrical, and plumbing are run but before walls close. Final inspections occur near completion. Schedule both to align with contractor availability and local requirements.
Q: What’s the best way to avoid change orders?
A: Make selections early, confirm measurements, and conduct mid-project walkthroughs. When a surprise appears, decide quickly to prevent downstream delays.
Q: How long does a typical project take?
A: It varies by scope, but planning, procurement, and construction often span several months. Detailed scheduling and early ordering help compress timelines.
Ready to Put Your Timeline Into Motion?
With a clear sequence, realistic milestones, and proactive coordination, your Huntington Beach kitchen remodel can progress smoothly from vision to final polish. If you want guidance across every phase—from design and permits to installation and punch list—connect with a trusted local team. Explore streamlined, schedule-smart kitchen remodeling support and move confidently toward the kitchen you’ve been imagining.